6 Steps to Automate Revit Groups Using Dynamo
Oct 19, 2022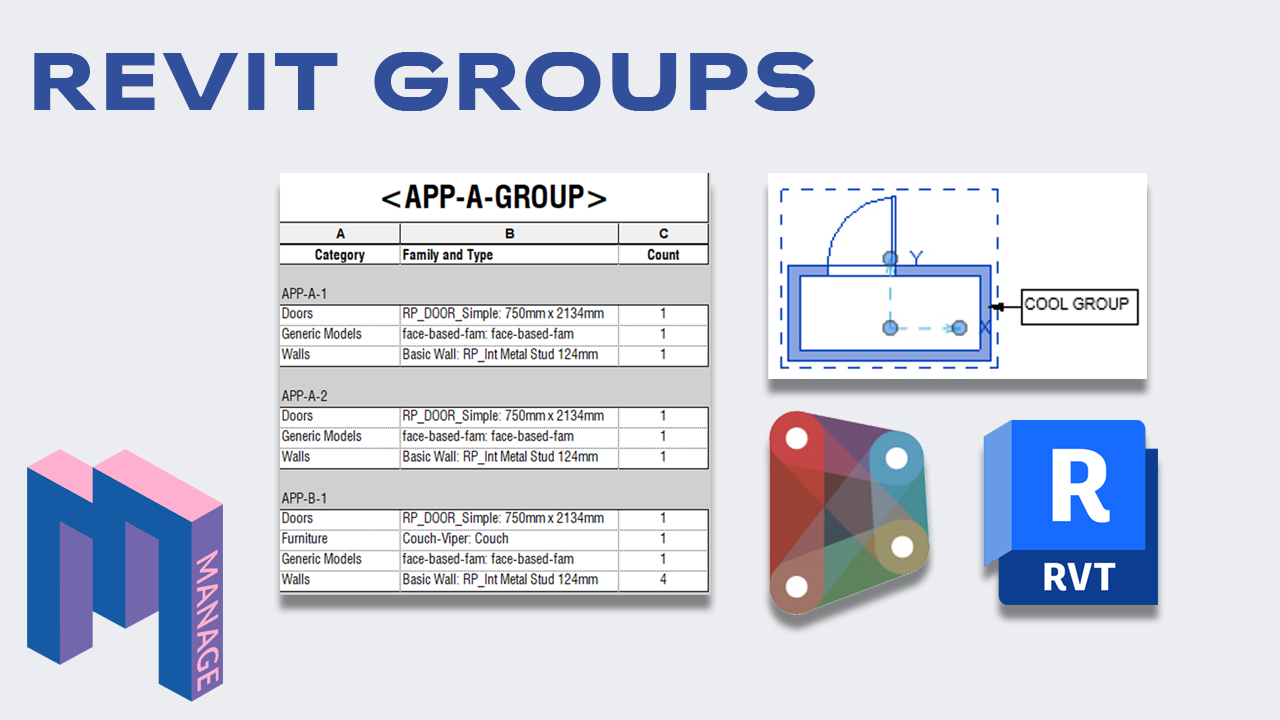
Model Groups are crucial to model multi-family housing projects in Revit. Recently, we’ve released a guide containing good practices with Groups.
The problem with groups is that you cannot schedule elements that are part of a specific group.
By using the power of Dynamo, you can easily add unique parameters to group parameters, allowing you to easily schedule, sort, and filter everything from a specific unit type.
Watch the video version of this guide:
It is possible to schedule Model Groups. The group itself is scheduled, not the elements contained inside.
In the old versions of Revit, you only have four schedulable parameters by default. Revit 2023 added all the common parameters (description, comments, etc.).
It is possible to add project parameters to model groups in any Revit version.

By default, model group schedules won’t tell you much. They can be used to display the count and reference level.

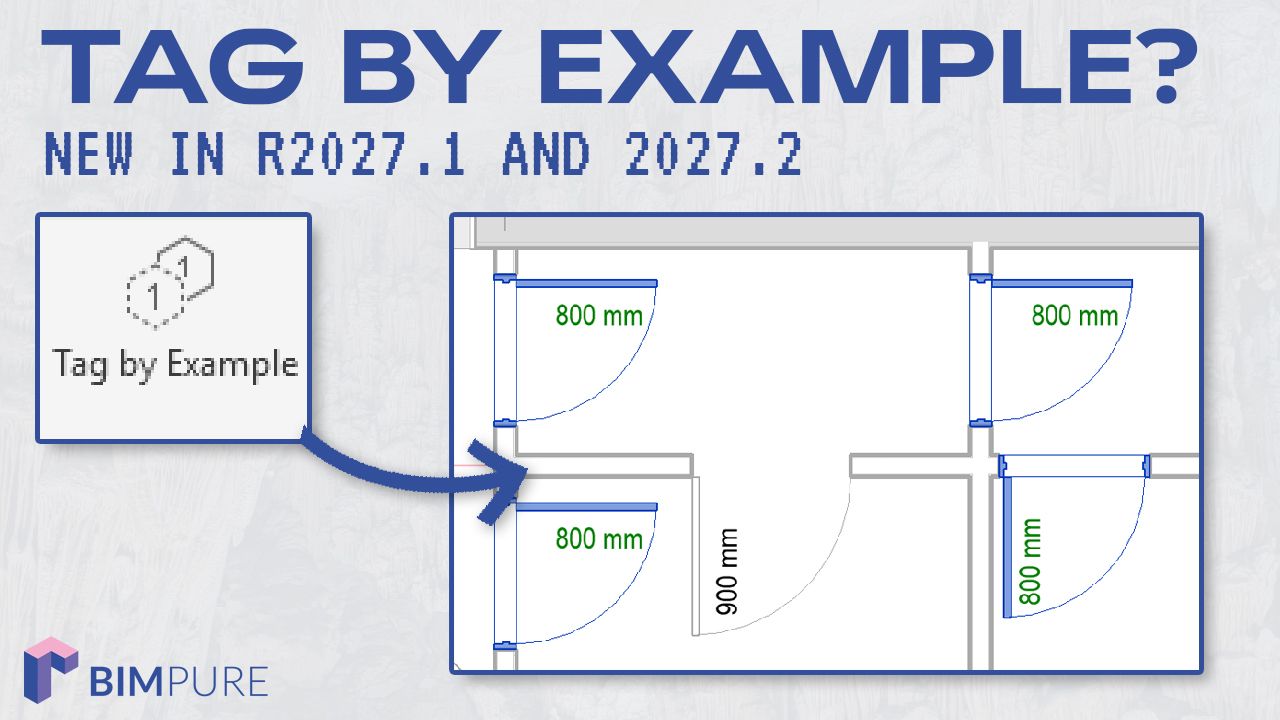
With Revit 2023, it is now possible to tag model groups.

What if you want to schedule everything inside of a group? Revit won’t let you do it by default. However, using Dynamo can make it work for you. Let’s explore the steps to create a group numbering script.
First, create new shared parameters for everything that will be included inside of groups that you may want to schedule (walls, doors, rooms, etc). Also, add these parameters to the Model Group category as well. Notice that when you add a project parameter, you have the option to use “Values can vary by group instance.” That means each instance of elements can have a different value for this parameter. For Dynamo to properly work, you need to use this option for all parameters you add.

All elements inside your group should have these two parameters when selected. Since you’ve picked the “Values can vary by group instance” option, you can modify the value directly by tab-selecting the element. No need to enter the group first.

However, you can’t modify these parameters manually. You need the help of Dynamo.
The group type name will serve as the primary way of numbering and marking individual elements. Therefore, make sure to have a clear name representing the group usage. For example, APP-A (For apartment type A), MODULE-01, etc.

Open Dynamo. You will need to install the Clockwork package. Then, create nodes to extract the type names of all placed groups. You will need the following nodes: Element Classes, All Elements of Class and Element.Name. These nodes are used in Dynamo 2.13. If you are using older versions of Dynamo, the nodes might be called “Element Types” and “All elements of Types” instead of Classes.

Here, you might consider filtering the groups to only keep specific ones, for example, those whose name starts with “APP.”
Then, you need to extract unique group type name values. Bring the node called List.GroupByKey. It creates a list of the different group names used in the project.

Group the nodes together to keep the script organized.

Now, you want a unique number for each group instance. For example, if there are three instances of the APP-A group, they will be called APP-A-1, APP-A-2 and APP-A-3. You could customize this name even further by adding the level. However, we’ll stick to a simple number for the moment.
This is what the script should do:
Take the group type name.
Append a number at the end of the name.
Assign the value to the Group Type and Group Instance parameters.
For this, we will use the Sequence node. Use the List.Count node to set the correct amount of numbers for each group type. Convert the sequence to a String. It is possible to add a separator (such as -) to the number. Then, use the string.Insert node to add the number and separator to the original string extracted from the “uniqueKeys” output.

You can see the number sequence you should get in the image below. There are two instances of the group type called “APP-A”. Therefore, the script creates two strings, called “APP-A-1” and “APP-A-2”. Unique numbers will also be generated for every other group type.

Now, let’s add these strings to the Group Instance parameter of each model group. Bring in the node called “Element.SetParameterByName”. Use the “Group Instance” parameter name you’ve previously created. Bring in the final string for the value.

As you can see, each group instance should now have a unique number in the Group Instance parameter you’ve created. The sequence will be based on the order of creation. For example, group APP-B-3 will be the third instance created of this group type.

Now, we will pick everything contained inside the groups and assign the type and instance numbers. You will need to install the Clockwork package and DynamoIronPython. Bring in the Group.Members node from Clockwork.

This node will list everything contained inside of each group:

Use these nodes to set the type and instance parameters to the elements:

Have a close look at the levels of the list. Set “element” to @L2 and “value” to @L1.

Tab-select one of the elements in the group. You should see both the type and instance numbers:

Important: each time you modify the groups, you’ll need to rerun the Dynamo script.
The Dynamo script marked each element inside groups, ensuring more options in scheduling. Let’s try to create a multi-category schedule. In the Filter, let’s only keep apartment A.

Here is an example that includes everything from the App-A group type.

You could also have a schedule that includes all groups, sorted by instance number.

Here is an example of a door schedule that includes the group instance.


Don’t forget to download all Dynamo scripts mentioned in this post! You will also get this entire blog post in PDF format, along with the entire pamphlets collection. Here is the link:
Enter your details below to get this free guide.