Forma to Revit: Full Site Model in 5 Minutes
Jul 14, 2025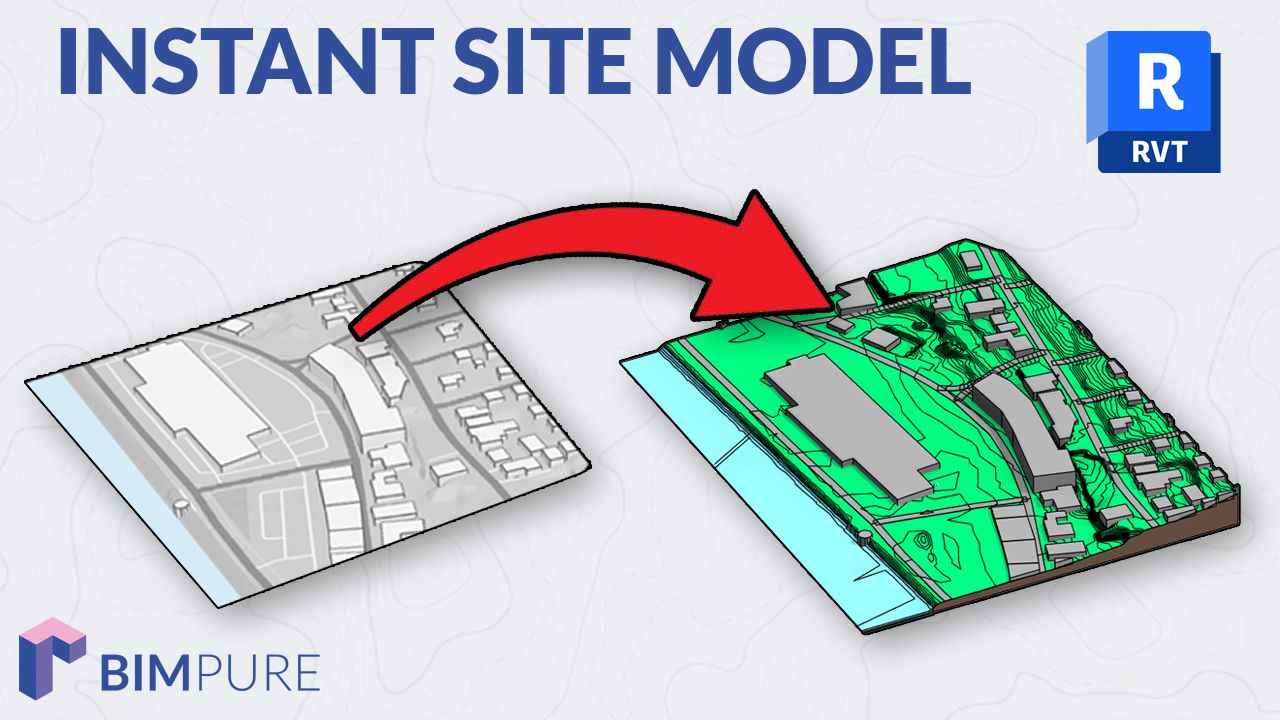
Forma is an Autodesk web application known for its massing, solar, and wind analysis features. It also lets you order site data, such as roads and buildings, and send it straight to Revit. On top of that, it automatically geo-references your models.
That means most Revit users can access the tool unless they use Revit or Revit LT as standalone products. Else, Forma is $185 per month as a standalone... but the subscription might not be worth it if you are only interested in the site modeling capabilities.
Watch the video tutorial:
Alright, let's get through all the steps.

Make sure to install the Forma Add-In for Revit. It is compatible with Revit 2022 to 2026.
Then, access Forma on this page: https://app.autodeskforma.com/
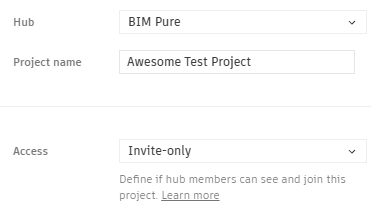
On the top left, click on Create new site.
You can make the hub open or invite-only.
Type the address or city of your project.
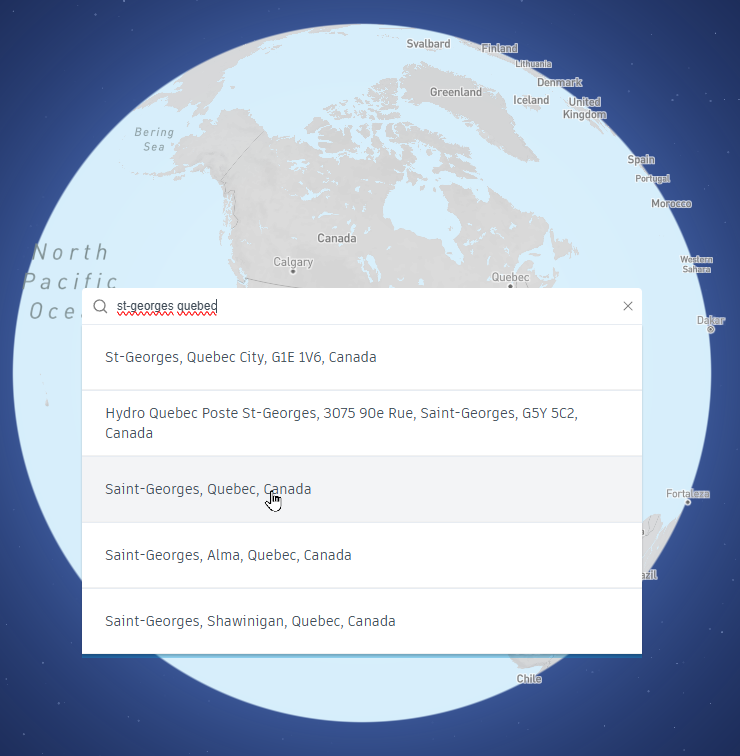
Then, zoom and pan to define the precise map area.
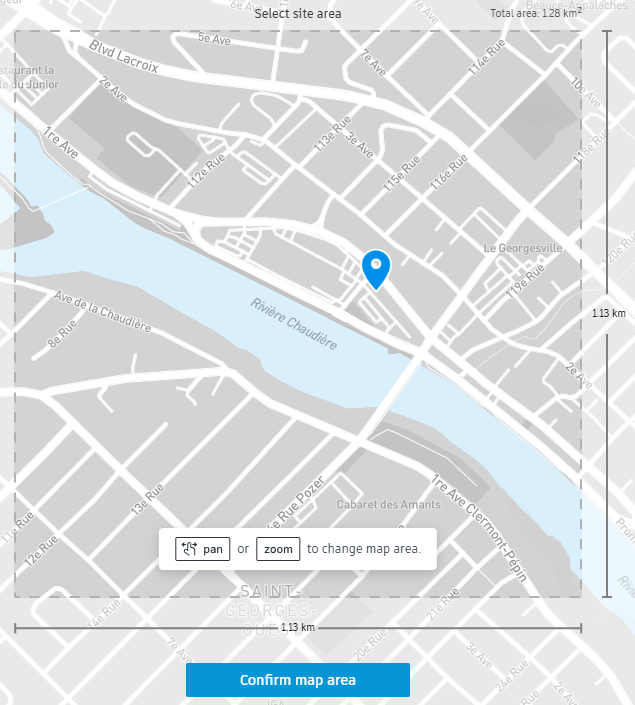
When ready, click on Confirm map area. It will load for a couple of minutes.
When ready, you will see a list of data you can order. Depending on the country and address, you might or may not have a lot of data available. Typically, you have at least buildings and roads.
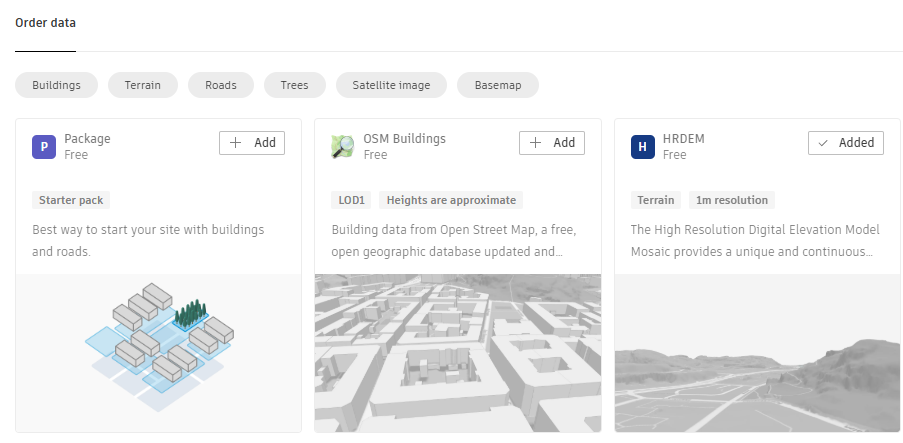
In this case, we'll order the Starter pack, which includes buildings and a road. We'll also pick the satellite and terrain. You should see the site:
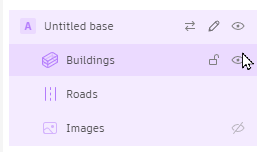
On the left sidebar, you can toggle the visibility of the elements you ordered.
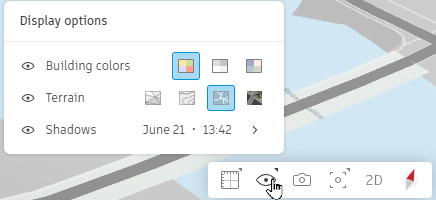
On the bottom options bar, you can also pick different kinds of displays and shadows.
For some sites, you might also get access to property lines and lot dimensions.
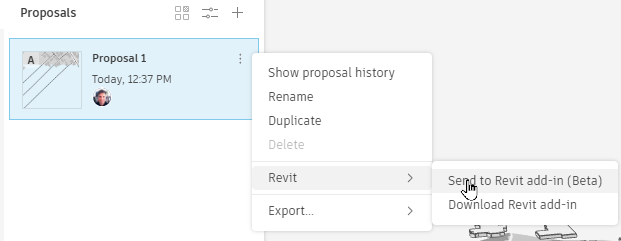
Click on the kebab menu next to the proposal (3 dots). Select the Send to Revit add-in tool.
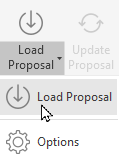
Open Revit and create a separate site model. Go to the Massing & Site tab, where you'll find the Forma add-in. Click on Load Proposal.
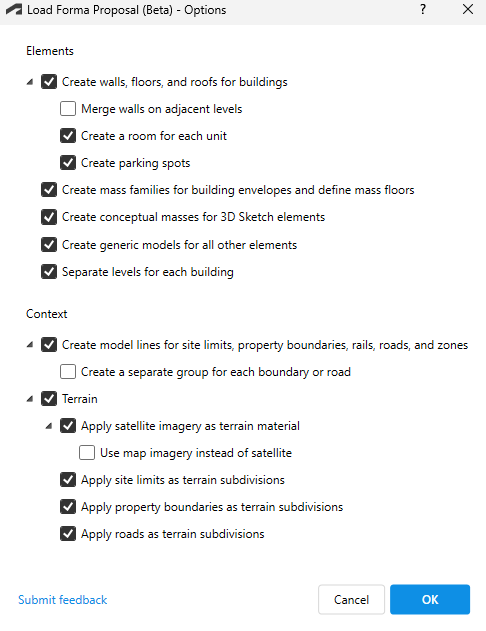
You can modify the options to decide what to include and how the site will be converted in Revit.
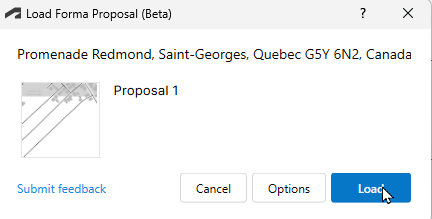
When you are ready, click on Load.
There you go! The site is loaded inside Revit. Toposolids and subdivisions are automatically created.
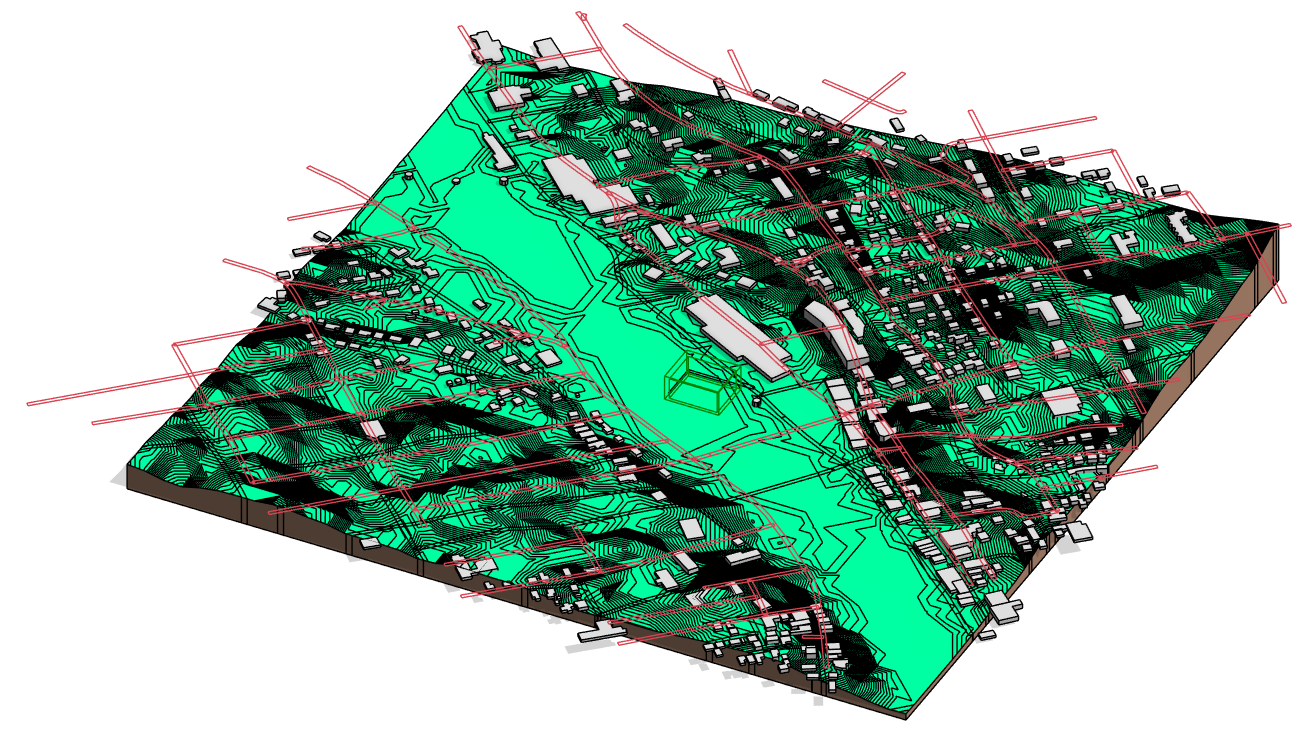
You might need to fix or adjust a few things. In this specific model, the roads are also created as detail lines. You can delete them if they are not required.
Also, you can see that we're having a grass river. We'll fix this by creating a new subdivision on the toposolid and applying the water type.
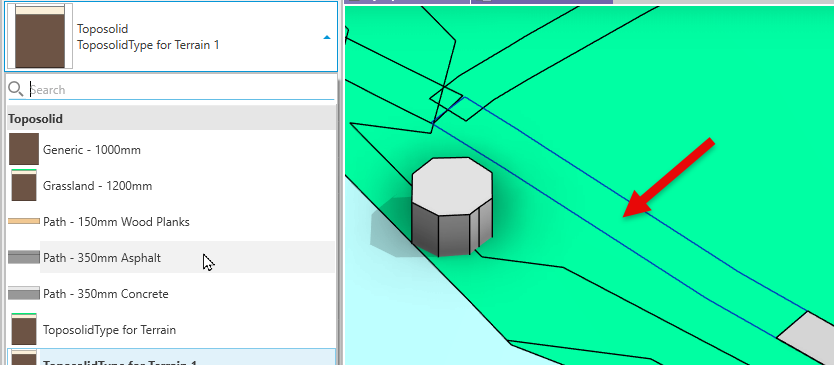
Finally, the automatic subdivisions for the road are not using the correct material. You must select them and switch to using asphalt.
Certain sites will be almost perfect. On others, you might spend some time doing cleanup.
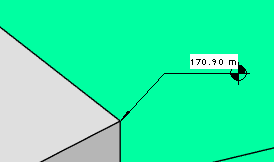
This feature is amazing: all sites imported from Forma are automatically georeferenced. That means you can use the "spot" elevation tool, and it will automatically refer to the sea level height. Or you could use the spot coordinates tool, and you will get accurate northing and easting values.
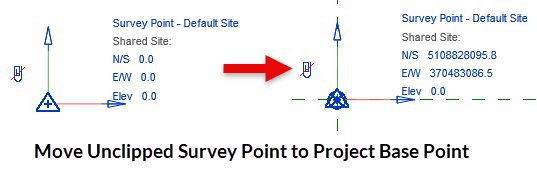
I would recommend moving the unclipped Survey Point to match the position of the project base point and internal origin. This is to avoid having elements beyond site extents larger than 20 miles, which can cause graphics issues.
Overall, having automatically generated geolocation is incredibly helpful. No more kicking yourself trying to acquire coordinates from a georeferenced file.
That's it. Did you try Forma site capabilities? What do you think of it? Let us know in the comments below.
Enter your details below to get this free guide.