20 Steps to Set Up Notion for BIM Standards, Revit Guides, and Onboarding
Oct 27, 2025
BIM knowledge cannot stay in one person’s head. It needs to be written down, structured, and available to everyone on the team.
Many architecture firms fail their BIM transition because the knowledge lives with a single “BIM champion.” When that person leaves, the firm loses its standards and has to start over.
In the past, BIM Managers created PDF manuals for standards and workflows. That was better than nothing, but today we have better tools.
Notion is a cloud-based workspace that makes it easy to write, organize, and link information. You can search across everything, embed videos and images, and keep your guides clear and pleasant to use.
A lot of Notion tutorials go too fast and dive into advanced features. Here, we start simple. Our example will be a guide for a Revit Template, built step-by-step.
You can start with the free plan. And what’s nice is that you can invite members to the workspace even if they aren’t paid members. Eventually, at least one seat should have a $10/month to access some key features.
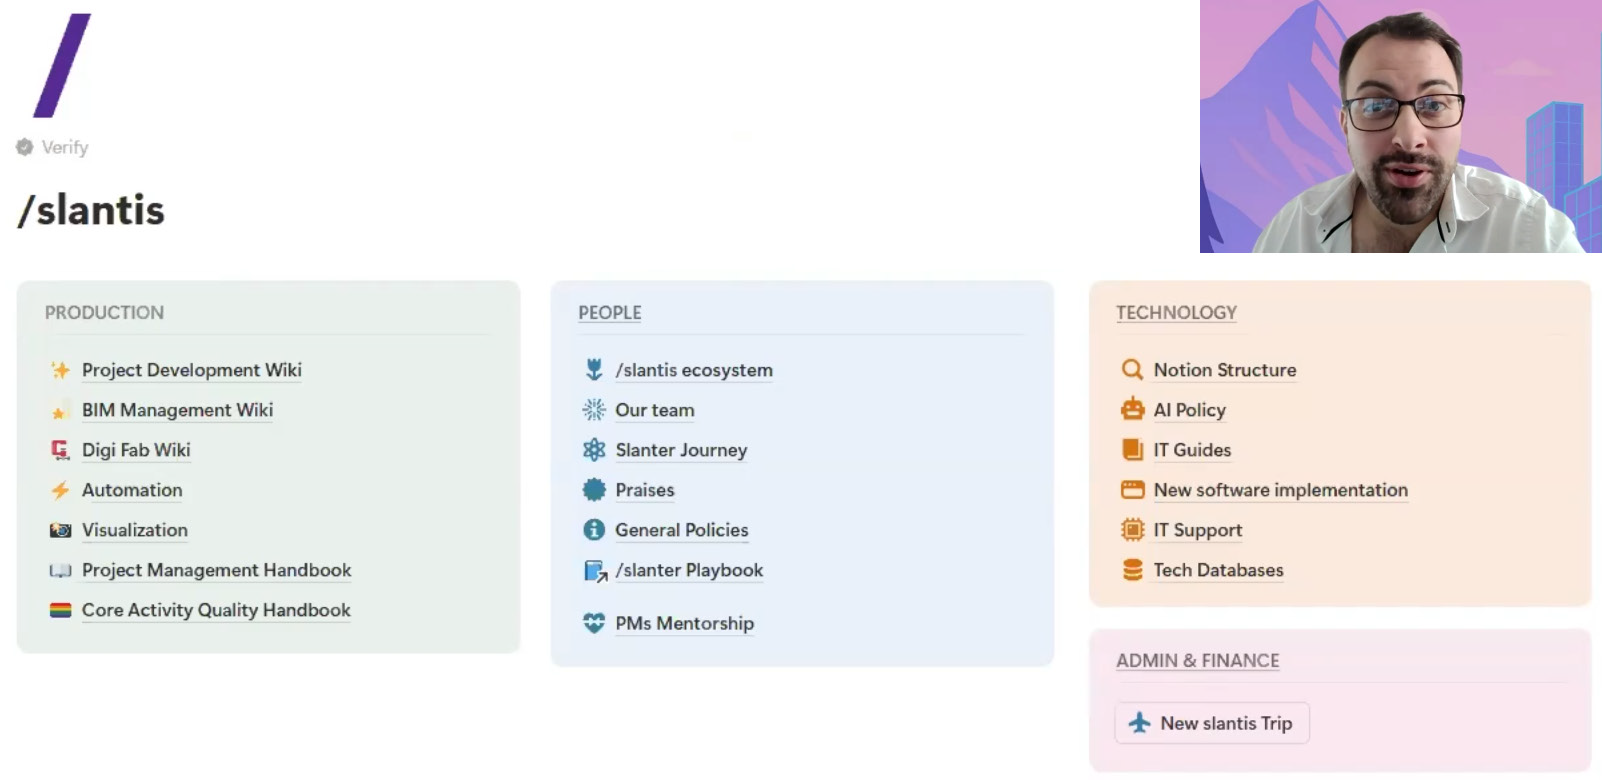
/slantis is a 100+ people architecture and technology firm based in Uruguay. They use Notion not only for BIM standards, but also for project management, task organization, company information, and more.
Nicolas Martinez is the head of technology at /slantis. He recently joined a BIM Pure live masterclass to explain their setup. Enroll to BIM Pure to unlock the full session.
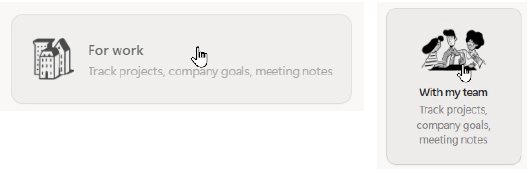
You can get started for free. Select Notion For work. Then, select the option to use for your team.
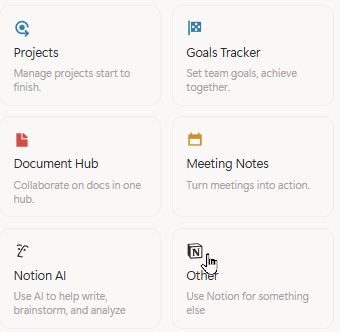
There are a few options to pick from, such as Projects, Goal tracker, etc.
Use Other to start from scratch.
On the left sidebar, you should see the new teamspace you have just created. Click on Add new and select the Empty page option.

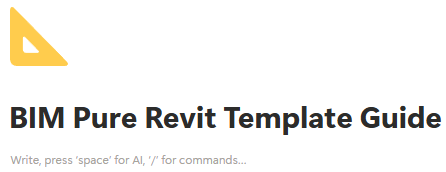
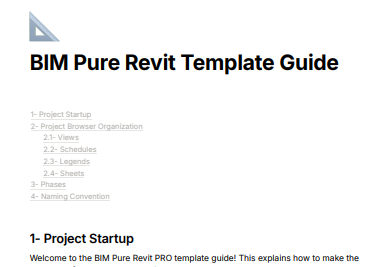
This page will be the home to your BIM template guide. Give it a proper name. Then, pick an emoji so you can identify the page on the toolbar. The triangle ruler is a good pick for templates.
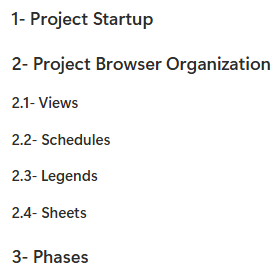
There are three header types in Notion (H1, H2, H3). Use them to properly organize the content on the page.
Use the # + spacebar symbol to create H1, ## for H2, and ### for H3.
You should number your headers manually. Numbering isn’t automatic.
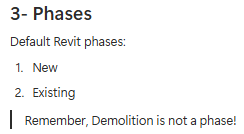
For example, create your template guide sections with H2 and H3 headers like this:
Start filling the page with text. Don’t hesitate to copy/paste from your old PDF standard file.

Type / inside of Notion to reveal a list of tools to help you embellish the formatting. On the right side, you can also see the shortcut for each. For example, type 1. to start creating a numbered list.
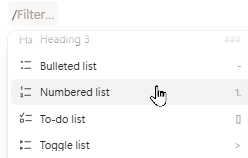
Lists are useful to keep information clear and structured. You can also add quotes or other blocks to highlight important notes or emphasis.
To make sections stand out, select a header, right-click, and apply a background color.


This is the part I love: you can paste any images and GIFs on your Notion page. I recommend using Snagit for quick captures. You don’t need to save the image first: just copy from Snagit and paste into Notion using CTRL-C and CTRL-V.
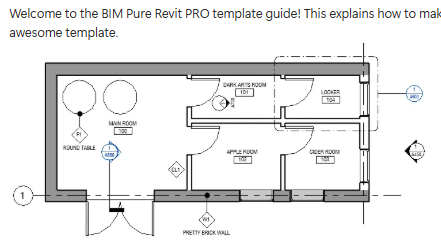
The best documentation combines text, images, GIFs, and videos.
Type /embed to see all available integrations.
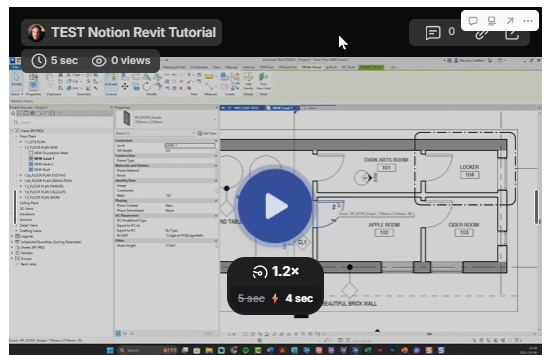
You can reference general YouTube videos or quickly record your screen with Loom and embed it directly in the Notion page.
Embedding is important: users don’t need to leave the page to watch videos. Everything happens directly inside Notion.
You don’t even need to type /embed. Simply paste the link from your preferred video platform, and it will automatically convert into an embedded element.
Drag and drop a file into Notion, and it will appear as a downloadable link. On the free plan, uploaded files can be up to 5 MB each.
Warning: keep a single source of truth. If a file already lives somewhere else, it’s better to link to it rather than upload a copy. You can also link directly to Google Drive or other cloud storage.
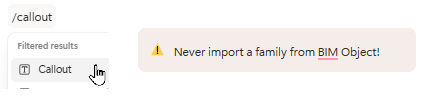
Callouts are blocks used for emphasis. Each callout has an emoji and a background color.
Use them for tips, notes, or warnings, and to make the page more readable and visually clear.
If your main template guide page is getting too long, split it into embedded pages. Type /page to create a new embedded page.
As you did with the main page, name the page and add an emoji.
Have a look at your sidebar. You’ll see all the pages you’ve created so far. Users can easily navigate to find what they’re looking for.
This also shows the importance of using emojis and accurate naming.

In some instances, tables are the best way to display information. Type /table and create as many rows and columns as you need. In the example below, we use a table for family naming convention.

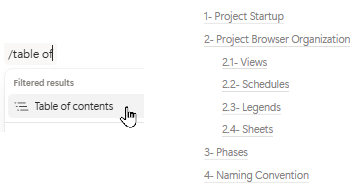
Return to the main template guide page. Type /table again and pick Table of contents. It will automatically generate links based on your headers, making navigation easier.
Click the three dots at the top-right of the page. You can choose between three fonts.
You can also make the text smaller and set the page to full width.

Once your template guide page is ready, click Share at the top-right of the screen.
Enter your colleagues’ email addresses to share the page. You can also adjust permissions for this page (view, comment, or edit).

Your colleagues will need a Notion account to access the page, but they can stay on the free plan. No paid account is needed unless they also need advanced features or manage multiple pages.
Sharing is private, and limited only to people invited. But you can also make the page public and share a public URL link.

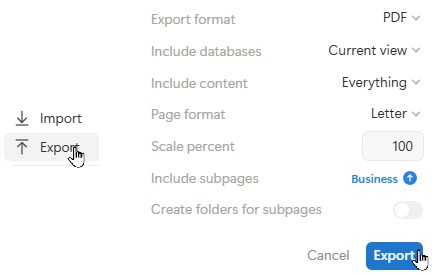
Want to keep a backup of your page in the PDF format? Use export, and pick the PDF file format.
So far, we’ve used Notion for simple wiki-style pages.
That is the best way to get started. But the real power of Notion comes from using databases. In the image below, we've set up a database for Revit & BIM Q&A. Every time a question related to Revit is asked, it gets into the "Notion BIM Brain". Then, users can easily search for answers instead of asking the same question.

Want to know how to set up this database, create a powerful home page hub, use Notion's powerful search feature, or use comments?
Or maybe you can't use Notion because you are stuck on Microsoft systems. Well, we've got a solution for you.
We've created a free 30-page PDF that includes this entire post's content, along with 5 bonus tips. Fill out the form below to immediately receive it.

Enter your details below to get this free guide.